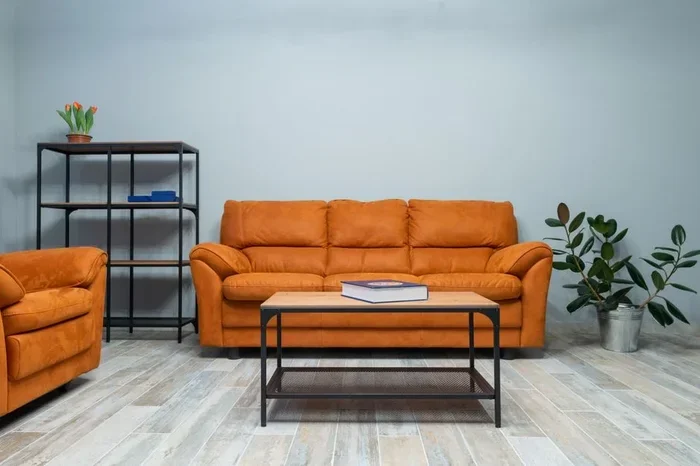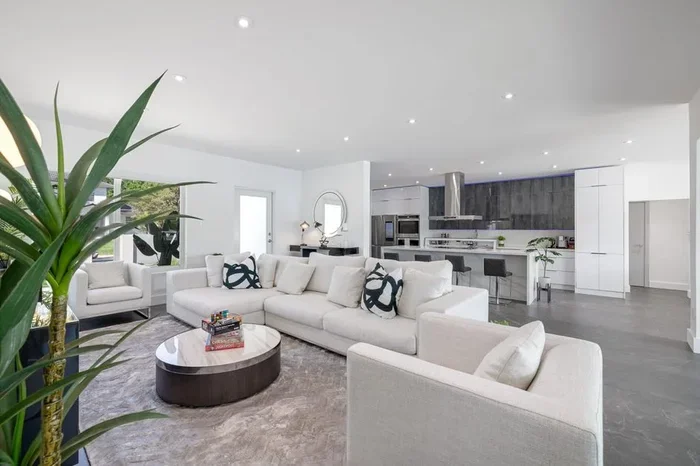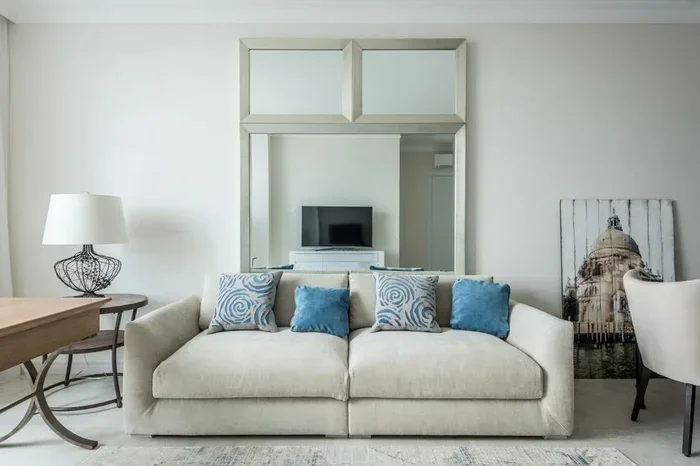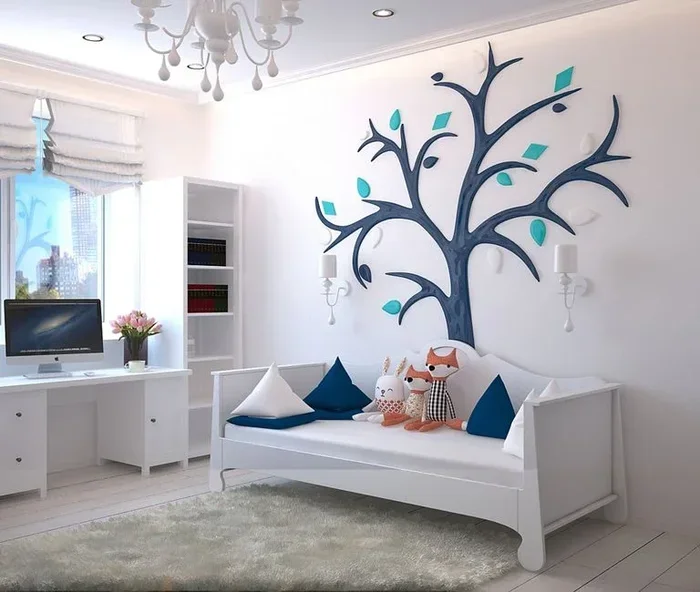
Peel and Stick Wall Decals for Living Room Makeover
Peel and stick wall decals for living room offer a simple, affordable way to refresh your space without damaging walls. These removable decorations let you create a bold accent wall or add subtle charm in minutes. They are perfect for renters, DIY enthusiasts, and anyone wanting a quick living room makeover. You can swap designs anytime, making them the most flexible decor option available. Discover how to choose, apply, and style the best decals for your home below.
Your living room is the heart of your home. It is where you relax, entertain guests, and spend quality time with family. But sometimes, the space feels a little flat or outdated. You do not want to spend thousands on a renovation. You do not even want to deal with messy paint or permanent wallpaper. This is exactly where peel and stick wall decals for living room come to the rescue.
These simple yet powerful decor tools let you transform any room in a matter of hours. They stick to walls easily, remove cleanly, and come in thousands of designs. Whether you love bold geometric shapes, soft floral patterns, or modern abstract art, there is something for everyone. In this guide, we will walk you through everything you need to know about using peel and stick wall decals to give your living room a fresh new look.
Key Takeaways
- Easy Application: Peel and stick decals go on in minutes and require no tools or expertise.
- Removable and Damage-Free: They cleanly come off walls, making them ideal for renters and temporary updates.
- Affordable Transformation: A single set can completely change the feel of your living room for a fraction of the cost of paint or wallpaper.
- Endless Design Options: From abstract patterns to floral motifs, there is a style to match every taste and interior theme.
- Versatile Placement: Use them on walls, furniture, shelves, and even windows for a cohesive look.
- Great for Accent Walls: Create a focal point behind your sofa or TV without permanent changes.
📑 Table of Contents
- What Are Peel and Stick Wall Decals?
- Why Choose Peel and Stick Decals for Your Living Room?
- How to Choose the Right Wall Decals for Your Living Room
- Best Places to Put Wall Decals in Your Living Room
- How to Apply Peel and Stick Wall Decals
- Common Mistakes to Avoid
- Styling Tips for a Cohesive Look
- How Long Do Peel and Stick Wall Decals Last?
- Where to Buy Quality Peel and Stick Wall Decals
- Final Thoughts
What Are Peel and Stick Wall Decals?
Peel and stick wall decals are adhesive decorations made from vinyl or similar materials. You simply peel off the backing paper and press the design onto any smooth surface. They stick firmly but remove without leaving residue or damaging paint. This makes them one of the most popular choices for removable wall decals and DIY wall decor projects.
Unlike traditional wallpaper, these decals do not require paste, special tools, or professional help. Most designs come on a backing sheet that lets you position the decal exactly where you want it. You can even peel it up and reposition it if needed. This flexibility is what makes them so appealing for people who love to update their space frequently.
How They Work
The adhesive on these decals is designed to be strong enough to hold the design in place but gentle enough to remove cleanly. The vinyl material is thin yet durable, which means it conforms to slightly uneven surfaces without bubbling. Most brands use a static cling or mild adhesive technology that works on painted drywall, plaster, and even some textured surfaces.
Materials Used
Most wall decals are made from high-quality vinyl. Some premium options use fabric-based adhesives that feel softer and look more textured. The backing is usually a paper or film layer that you peel away during application. The quality of the material affects how long the decal lasts and how easily it removes, so always check product specifications before buying.
Why Choose Peel and Stick Decals for Your Living Room?
There are so many reasons to consider peel and stick wall decals for living room spaces. Let us break down the biggest benefits that make them a go-to choice for homeowners and renters alike.
No Damage to Walls
This is the number one reason people love these decals. You do not have to worry about holes, stains, or peeling paint when you remove them. This is especially important if you rent your home or lease an apartment. Landlords often require you to leave walls in their original condition. Peel and stick decals let you personalize your space while keeping the walls intact.
Budget-Friendly Transformation
A full living room makeover can cost thousands of dollars. Paint, new furniture, and professional decorators add up fast. A set of quality wall decals typically costs between 20 and 80 dollars. For that price, you get a completely transformed look. It is hands down one of the most cost-effective ways to refresh a room.
Easy to Apply and Remove
You do not need any special skills to apply these decals. The process takes just a few minutes per design. Most kits include detailed instructions and even application tapes to help you position the decal perfectly. When you want a change, you simply peel it off and discard it or store it for later use.
Perfect for Renters
If you move frequently, permanent decor changes are not an option. Peel and stick wall decals are the perfect solution. You can create a beautiful, personalized living space and take the decals with you when you move. They travel well and can be reused on new walls, making them a smart investment for anyone who rents.
How to Choose the Right Wall Decals for Your Living Room
With so many options available, choosing the right decals can feel overwhelming. Here are some key factors to consider before you buy.
Consider Your Room Style
Think about the overall look and feel of your living room. Do you have a modern minimalist style? A cozy farmhouse vibe? A bold, eclectic aesthetic? Your wall decoration ideas should complement the existing furniture, color palette, and mood of the room. For example, if your room features warm wood tones and neutral fabrics, earthy botanical decals might be the perfect match.
If your space leans more modern, consider geometric shapes or abstract designs. You can also look at aesthetic living room ideas for inspiration on how different decal styles pair with various interior themes. The goal is to create a cohesive look that feels intentional and polished.
Match the Size to Your Wall
Measure the wall or area where you plan to place the decals. A small decal on a large wall will look lost and underwhelming. A massive decal on a small wall can feel overwhelming. As a general rule, the decal should cover about 60 to 70 percent of the wall space you are targeting. This creates a balanced, eye-catching focal point without dominating the room.
Color Coordination
Choose decals that work with your existing color scheme. If your room has a neutral base with colorful accent pieces for living room, you can pick decals that pull from those accent colors. This creates a unified, well-designed space. If your room is mostly neutral, a bold colored decal can add the perfect pop of personality.
Quality and Material
Not all decals are created equal. Look for ones made from thick, durable vinyl that resists fading and peeling. Check reviews for information about adhesive strength and removability. Higher quality decals may cost a bit more, but they last longer and remove more cleanly, which saves you money in the long run.
Best Places to Put Wall Decals in Your Living Room
The beauty of peel and stick wall decals for living room spaces is their versatility. You are not limited to just one wall. Here are the best spots to place them for maximum impact.
Behind the Sofa
The wall behind your sofa is the perfect spot for a statement decal. It creates an instant focal point that draws the eye and anchors the seating area. A large floral or abstract design works beautifully here. This is one of the most popular ways to use wall decals because it transforms the most prominent wall in the room.
Above the Fireplace
If your living room has a fireplace, the wall above it is prime real estate. A decorative decal in this spot adds visual interest and ties the room together. Whether your fireplace is a traditional stone design or a sleek modern unit, a well-placed decal can elevate the entire area.
On Shelves and Sideboards
Do not limit decals to just walls. You can apply them to the backs of open shelves or the flat surface of a sideboard. This adds depth and personality to your storage pieces. For styling tips on how to arrange items alongside decals on shelves, check out our guide on how to style open shelves living room. Combining decorative wall panels with well-styled shelving creates a layered, designer look.
On Windows and Glass Doors
Some decals are designed specifically for glass surfaces. Frosted-style decals on windows add privacy while letting in natural light. They can also make plain glass doors feel more decorative and intentional. This is a great trick for homes with large windows or sliding glass doors that lead to the living area.
How to Apply Peel and Stick Wall Decals
Applying peel and stick wall decals is simpler than you might think. Follow these steps for a smooth, bubble-free finish every time.
Step 1: Clean and Prepare the Wall
Start by wiping down the wall with a damp cloth. Remove any dust, dirt, or grease. A clean surface ensures the decal sticks properly and stays in place longer. Let the wall dry completely before you begin.
Step 2: Measure and Mark
Use a pencil and a level to mark where you want the decal to go. This is especially important for large designs or symmetrical layouts. Taking a few extra minutes to measure will save you from repositioning later.
Step 3: Peel and Position
Carefully peel the backing paper away from the decal. Hold the decal up to the wall and use the application tape (usually included) to position it. Once you are happy with the placement, press the decal firmly onto the wall, starting from the center and working outward.
Step 4: Smooth Out Bubbles
Use a credit card or a soft cloth to gently smooth out any air bubbles. Work from the center toward the edges. If a bubble is stubborn, carefully lift that section and smooth it down again.
Step 5: Remove the Application Tape
Slowly peel away the application tape at a 45-degree angle. The decal should stay firmly on the wall. If any edges lift, press them down firmly with your fingers.
Quick Tip: Apply decals at room temperature. Cold walls or cold decals do not adhere as well. Wait for a warm day or heat the wall slightly with a hair dryer before application for the best results.
Common Mistakes to Avoid
Even though applying decals is easy, there are a few mistakes that can ruin the results. Here is what to watch out for.
- Skipping wall prep: Dust and grease prevent proper adhesion. Always clean the wall first.
- Applying in direct sunlight: The heat can make the adhesive too soft, causing the decal to slide or bubble.
- Rushing the positioning: Take your time lining up the design. Once it sticks, repositioning can damage the edges.
- Choosing the wrong size: A decal that is too small gets lost on the wall. Always go bigger than you think you need.
- Ignoring surface texture: Very rough or heavily textured walls are not ideal for decals. They adhere best to smooth, flat surfaces.
Avoiding these simple mistakes ensures your wall stickers look professional and last for years. For more ideas on creating a stunning focal point in your space, explore our collection of aesthetic living room decor inspiration.
Styling Tips for a Cohesive Look
Once your decals are up, you want the whole room to feel intentional and put together. Here are some tips to make your living room decor shine.
Pair Decals with Matching Accent Pieces
If your decal features gold tones, add gold-framed frames or metallic accent pieces for living room nearby. This creates a cohesive design story. The decal becomes part of a larger visual theme rather than a standalone element.
Use Decals to Define Zones
In open-concept living rooms, decals can help define different areas. Place a decorative decal above a console table or reading nook to visually separate the space. This is a clever trick that adds structure without building walls or using furniture barriers.
Layer with Other Wall Decor
Decals look even better when layered with other wall elements. Combine them with framed prints, floating shelves, or decorative wall panels for a dynamic, curated wall display. Just be careful not to overcrowd the space. Let the decal breathe and serve as the main event.
For more ideas on arranging your living room furniture around a decorated wall, check out our guide on how to arrange living room furniture with fireplace and tv. A well-planned layout makes your decals and overall design shine.
How Long Do Peel and Stick Wall Decals Last?
The lifespan of your decals depends on several factors, including the quality of the material, the surface they are applied to, and the conditions in your room. On average, a good quality self-adhesive wall decal lasts between three and seven years indoors. Premium vinyl decals can last even longer with proper care.
To maximize the longevity of your decals, avoid placing them in areas with high humidity or direct sunlight for extended periods. Bathrooms and sun-facing walls may cause decals to fade or loosen faster. If you notice edges lifting, simply press them back down with a warm cloth.
Removing decals is just as easy as applying them. Pull slowly at a 45-degree angle. If any residue remains, a warm cloth or a small amount of rubbing alcohol on a cotton ball will clean it off without damaging the paint underneath.
Where to Buy Quality Peel and Stick Wall Decals
There are many places to find great vinyl wall decals for your living room. Online marketplaces offer the widest selection and often the best prices. Specialty home decor websites carry unique designs that you will not find in big box stores. When shopping, look for sellers with good reviews, clear size specifications, and detailed product photos.
Some brands also offer custom decal services where you can upload your own design or choose from a designer collection. This is a fantastic option if you want something truly unique for your space. Always check the return policy and care instructions before purchasing.
Final Thoughts
Peel and stick wall decals for living room spaces are one of the smartest, simplest, and most affordable ways to refresh your home. They require no special skills, no expensive tools, and no permanent changes to your walls. Whether you are a renter looking to add personality or a homeowner wanting a quick update, these decals deliver stunning results.
The key is to choose designs that match your style, measure your walls carefully, and apply with patience. Once you experience how easy and transformative these decals are, you will wonder how you ever decorated without them. Start with one wall, see how you love it, and then expand to other areas of your home. Your dream living room is just a peel away.
Frequently Asked Questions
Can peel and stick wall decals be reused?
Most peel and stick decals are designed for single use, but some higher quality brands allow for repositioning and even reuse. If you handle them carefully during removal and store them flat, you may be able to apply them again. However, the adhesive weakens with each removal, so results may vary.
Do wall decals damage painted walls when removed?
No, quality peel and stick decals are specifically designed to remove without damaging paint. They leave no residue or marks behind. However, always test a small hidden area first if you have very delicate or recently painted walls to ensure compatibility.
What surfaces work best for peel and stick decals?
Smooth, flat surfaces like painted drywall, plaster, and glass work best. Decals can also be applied to wood furniture, mirrors, and some textured walls, though adhesion may be slightly weaker on heavily textured surfaces. Avoid applying decals to dusty, greasy, or damp walls for the strongest hold.
How long does it take to apply wall decals?
A single small to medium decal takes about 10 to 15 minutes to apply. Larger designs or full wall murals may take 30 minutes to an hour, depending on complexity. The process is straightforward and does not require any drying time, so your room is ready to enjoy immediately after application.
Are peel and stick decals weather-resistant?
Most indoor decals are not designed for outdoor use or high-humidity areas. They hold up well in normal indoor conditions but may fade or loosen in direct sunlight or damp environments. For best results, keep decals away from areas with heavy moisture or prolonged sun exposure.
Can I cut peel and stick decals to fit custom spaces?
Yes, many decals can be trimmed with scissors or a craft knife to fit custom spaces or shapes. This is especially useful when applying decals around outlets, light switches, or furniture edges. Just cut carefully and test the fit before removing the backing paper completely.
=== CONCLUSION ===
Peel and stick wall decals for living room spaces are a game changer for anyone who wants a beautiful home without the hassle of permanent renovations. They are affordable, easy to apply, and endlessly versatile. You can transform your living room in an afternoon and change the look whenever inspiration strikes. With so many designs, colors, and sizes available, there has never been a better time to try wall decals for your home. Start your living room makeover today and enjoy a space that truly reflects your personal style.